EC2 Amazon LinuxのNginx+RDS MySQLにレンタルWebサーバーからWordPressを移設する(手順整理版)
2015/05/16
ブログサイト(WordPress)をレンタルWebサーバーからAWSに移設する事にしました。
手順を整理して記載します。
検証、確認や途中のエラーなどを見たい方は、そのまま記載しているこちら「Amazon LinuxのNginx+RDS MySQLにレンタルWebサーバーからWordPressを移設する(失敗、手戻りそのまま記載版)」をご覧ください。
目次
環境
ドメインは仮に mydomain.comとしています
移設前
- ロリポップ
- ロリポプラン
- MySQL
- 多分Apache
- Word Press
- Word Press to Dropboxで日次バックアップ
移設後
- AWS EC2 Amazon Linux(t2.small)
- AWS RDS MySQL
- Nginx
- WordPress
移設先AWS環境の構築
EC2インスタンスの構築
こちら「試したい事があるのでAWS でとりあえずAmazon Linuxのサーバを作る」を参照してください。
作成したEC2インスタンスにグローバルIPアドレスを設定
こちら「AWS EC2 でインスタンスにIPアドレスを紐付ける」を参照してください。
Amazon LinuxにNginx他をインストールする
MySQLはRDSを使用するのでここではクライアントのみをインストールする
[bash]
$ sudo yum install nginx
$ sudo yum install mysql
$ sudo yum install php php-fpm php-mbstring php-mysql php-gd
[/bash]
Nginxの設定をする
default.confを設定する
[bash]
$ sudo vim /etc/nginx/conf.d/mydomain.conf
[/bash]
- mydomain.conf
[vim]
server {
listen 80;
server_name mydomain.com www.mydomain.com;
root /usr/share/nginx/mydomain;
location / {
index index.php index.html;
try_files $uri $uri/ /index.php;
if (!-e $request_filename) {
rewrite ^.+?(/wp-.) $1 last;
rewrite ^.+?(/..php)$ $1 last;
rewrite ^ /index.php last;
}
}
location ~ .php$ {
fastcgi_pass 127.0.0.1:9000;
fastcgi_index index.php;
fastcgi_param SCRIPT_FILENAME $document_root$fastcgi_script_name;
include fastcgi_params;
}
}
[/vim]
Nginxとphp-fpmを自動起動してサービススタートする
[bash]
$ sudo chkconfig nginx on
$ sudo chkconfig php-fpm on
$ sudo service nginx start
$ sudo service php-fpm start
[/bash]
RDS MySQLの構築
こちら「AWS RDS でMySQLインスタンスを構築する」を参照してください。
MySQL 設定
移設前のバックアップからデータを移行しますので、Databaseとユーザーだけ作成します。
仮にそれぞれ下記の設定としています。
- RDSエンドポイント : rdsendpoint
- RDSユーザー : rdsuser
- RDSパスワード : rdspassword
- データベース名 : wpdatabase
- WordPressユーザー : wpuser
- WordPressパスワード : wppassword
- EC2のプライベートIP : 172.1.1.1
[bash]
$ mysql -h rdsendpoint -u rdsuser -p
Enter password:rdspassword
Welcome to the MySQL monitor. Commands end with ; or \g.
Your MySQL connection id is 290
Server version: 5.6.22-log MySQL Community Server (GPL)
Copyright (c) 2000, 2015, Oracle and/or its affiliates. All rights reserved.
Oracle is a registered trademark of Oracle Corporation and/or its
affiliates. Other names may be trademarks of their respective
owners.
Type ‘help;’ or ‘\h’ for help. Type ‘\c’ to clear the current input statement.
mysql> CREATE DATABASE wpdatabase CHARACTER SET utf8;
Query OK, 1 row affected (0.01 sec)
mysql> GRANT ALL PRIVILEGES ON wpdatabase.* TO wpuser@172.1.1.1 IDENTIFIED BY ‘wppassword’ WITH GRANT OPTION;
Query OK, 0 rows affected (0.10 sec)
mysql> FLUSH PRIVILEGES;
Query OK, 0 rows affected (0.02 sec)
mysql> exit
Bye
$ mysql -h rdsendpoint -u wpuser -p
Enter password:wppassword
Welcome to the MySQL monitor. Commands end with ; or \g.
Your MySQL connection id is 290
Server version: 5.6.22-log MySQL Community Server (GPL)
Copyright (c) 2000, 2015, Oracle and/or its affiliates. All rights reserved.
Oracle is a registered trademark of Oracle Corporation and/or its
affiliates. Other names may be trademarks of their respective
owners.
Type ‘help;’ or ‘\h’ for help. Type ‘\c’ to clear the current input statement.
mysql> exit
Bye
[/bash]
移設前サーバーのBackWPUpプラグインで手動バックアップを取得
- 新規ジョブを作成します。
- 対象は、データベース、ファイル、インストール済プラグインリストです。
- 保存方法はDropboxにします。
- スケジュールは手動です。
- ジョブ一覧から「すぐに実行」で実行します。
AWSでDropboxからバックアップファイルをダウンロードする
展開用ディレクトリを作成して、そこにダウンロードして解凍します。
※ダウンロードしたファイルにはURLコマンドが付いた状態になっているのでダウンロード後、リネームします。
[bash]
$ mkdir mydomain
$ cd mydomain
$ wget <DropboxのバックアップファイルURL>
$ mv <Dropboxのバックアップファイル> mydomain.tar.gz
$ tar vxfz mydomain.tar.gz
[/bash]
データベースバックアップのSQLを置換する
[bash]
$ vim バックアップSQLファイル
[/bash]
[vim]
:%s;置換前のテキスト;置換後のテキスト;g
[/vim]
- ABSPATHの置換
- 他にデータベース名など変更している場合はそれも置換
データベースのリストア
[bash]
$ mysql -h rdsendpoint -u wpuser -pwppassword wpdatabase < バックアップSQLファイル
[/bash]
※ -pの後はスペースなしでパスワードを続けます
※ sqlファイル名の前は <
ファイルの移動
Nginxのデフォルトユーザーはapacheなのでapacheユーザーに権限付与します。
[bash]
$ cd ~
$ sudo mv mydomain /usr/share/nginx/mydomain
$ sudo chown -R apache:apache /usr/share/nginx/mydomain
[/bash]
wp_config.phpの編集
[bash]
$ sudo vim wp_config.php
[/bash]
[vim]
define(‘DB_NAME’, ‘wpdatabase’);
/** MySQL のユーザー名 */
define(‘DB_USER’, ‘wpuser’);
/** MySQL のパスワード */
define(‘DB_PASSWORD’, ‘wppassword’);
/** MySQL のホスト名*/
define(‘DB_HOST’, ‘rdsendpoint’);
[/vim]
nginx再起動
[bash]
$ sudo service nginx restart
[/bash]
DNSのAレコードをEC2のグローバルIPアドレスに変更する
最後までお読みいただきましてありがとうございました!
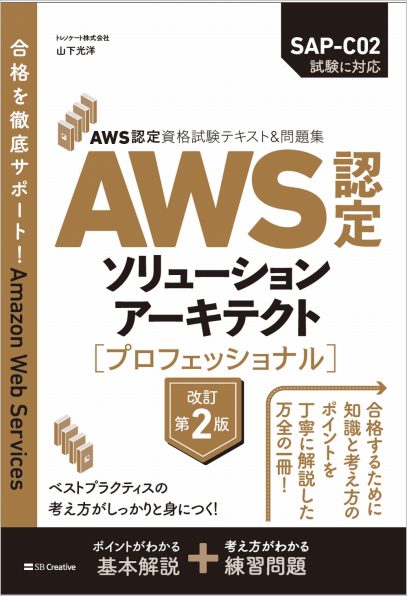
「AWS認定資格試験テキスト&問題集 AWS認定ソリューションアーキテクト - プロフェッショナル 改訂第2版」という本を書きました。

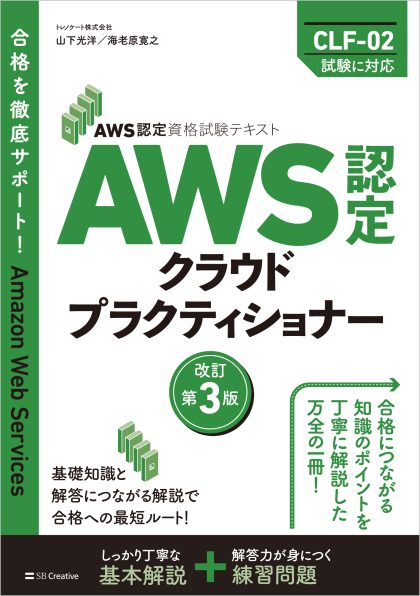
「AWS認定資格試験テキスト AWS認定クラウドプラクティショナー 改訂第3版」という本を書きました。

「ポケットスタディ AWS認定 デベロッパーアソシエイト [DVA-C02対応] 」という本を書きました。

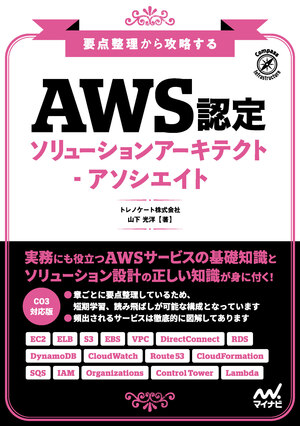
「要点整理から攻略するAWS認定ソリューションアーキテクト-アソシエイト」という本を書きました。

「AWSではじめるLinux入門ガイド」という本を書きました。

開発ベンダー5年、ユーザ企業システム部門通算9年、ITインストラクター5年目でプロトタイプビルダーもやりだしたSoftware Engineerです。
質問はコメントかSNSなどからお気軽にどうぞ。
出来る限りなるべく答えます。
このブログの内容/発言の一切は個人の見解であり、所属する組織とは関係ありません。
このブログは経験したことなどの共有を目的としており、手順や結果などを保証するものではありません。
ご参考にされる際は、読者様自身のご判断にてご対応をお願いいたします。
また、勉強会やイベントのレポートは自分が気になったことをメモしたり、聞いて思ったことを書いていますので、登壇者の意見や発表内容ではありません。
ad
ad
関連記事
-

-
WordPressの「データベース接続確立エラー」への対応(様子見中 EC2 + RDS t2.micro)
誰もが一度は見たことがある「データベース接続確立エラー」の無機質な画面。 スクリ …
-

-
AWS Organizationsでタグポリシーを設定しようとしました
Organizationsで[タグポリシーを有効にする]ボタンを押下しました。 …
-

-
Lucidchart AWSアカウントからインポート機能で自動作図
SNSでLucidchartというサービスが話題になってました。 AWSの環境を …
-

-
cfn-initでEC2インスタンスにPHPをインストールしWebサーバーを起動する
AWS CloudFormation による Amazon EC2 へのアプリケ …
-

-
「JAWS-UG DE&I AWS re:Invent 2024 recap サーバーレス ハンズオン」でサポーターしてきました
JAWS-UG DE&I開催の「AWS re:Invent 2024 r …
-

-
Aurora Serverless Data APIを有効にしてQuery Editorを使ってみました
Aurora ServerlessのMySQLでData APIを有効にして作成 …
-

-
CloudWatch LogsメトリクスフィルタでNginxのaccess_logから転送バイト数をモニタリングする
ユーザーガイドのApache ログからのフィールドの抽出を見てて、これ、Ngin …
-

-
WordPressの年ごとのブログ投稿数を調べるSQL
毎年年末に使いそうなのでメモです。 [crayon-687adcf25d52d5 …
-

-
Amazon BedrockがGAしたので触りました(boto3からも)
Amazon Bedrock Is Now Generally Availabl …
-

-
当ブログ(WordPress)のCloudFrontのキャッシュヒット率があがった
当ブログの構成です。 S3とALB+EC2 Auto Scalingで構成してい …

